Heat therapy and cold therapy are low-cost yet effective ways to reduce many types of back and neck pain. Here are some easy ways to make reusable heat or cold packs so you can get quick relief.
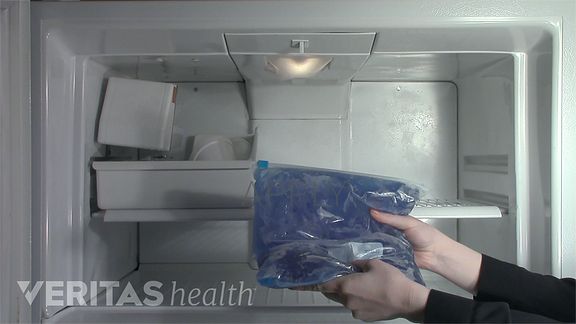
Homemade gel ice packs are easy to make and handy to have around when you need them.
Watch: Video: How to Make a Gel Ice Pack
Homemade gel ice packs
Cold therapy can help reduce swelling, pain and inflammation. These homemade gel ice packs are more comfortable than a bag of frozen peas, because they mold better to your body.
See Ice Packs for Back Pain Relief
What you need:
- 1 quart or 1 gallon plastic freezer bags (depending on how large you want the cold pack)
- 2 cups water
- 1 cup rubbing alcohol (70%)
Instructions:
- Fill the plastic freezer bag with 1 cup of rubbing alcohol and 2 cups of water.
- Try to get as much air out of the freezer bag before sealing it shut.
- Place the bag and its contents inside a second freezer bag to contain any leakage.
- Leave the bag in the freezer for at least an hour.
- When it’s ready, place a towel between the gel pack and bare skin to avoid burning the skin.
As an alternative to rubbing alcohol you may simply use dish soap, which has a gel-like consistency and will also freeze/retain the cold.
Another way to apply ice to your painful back is by freezing water in a Styrofoam cup, and then asking someone to rub on the painful area of your back to reduce inflammation.
See Ice Massage for Back Pain Relief
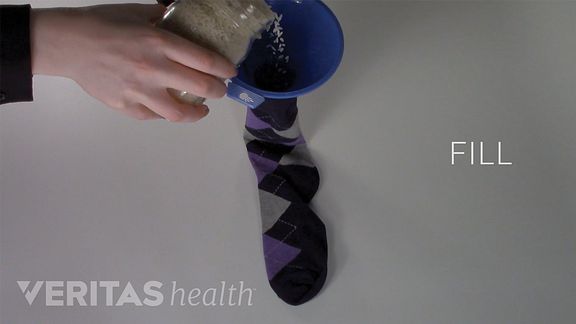
Socks can make a heat pack that is beneficial for back pain.
Watch: Video: How to Make a Moist Heat Pack
Homemade moist heat packs
Heat therapy increases circulation to aching muscles and injured areas of your back and can provide soothing pain relief. There are two types of heat therapy: dry and moist.
Moist heat packs are less dehydrating to the skin than dry heat. They also allow heat to absorb better into the skin and may relieve pain faster.
What you need:
- Cloth container (sock, small pillow case, fabric)
- 4-6 cups of filling (such as uncooked rice, flaxseed, buckwheat, oatmeal)
- Needle and thread (optional, but recommended)
Instructions:
- Fill your cloth container with the filling.
- Tie or sew the container shut.
- Microwave container for 1-3 minutes.
Whether you are using cold or heat therapy, apply for at most 15 or 20 minutes. Then take a break for about 2 hours to allow the skin to recover and avoid damage.
In This Article:
- 6 Overlooked Remedies for Lower Back Pain Relief
- Exercise for Better Back Health
- A Simple Guide to Sleeping with Lower Back Pain
- How to Make Your Own Gel Ice Pack or Moist Heat Pack
- How to Stop Your Pain with Your Mind
- Video: 6 Overlooked Remedies for Lower Back Pain Relief
In general, ice is better for acute or recent injuries that have occurred within the last 2 or 3 days. Ice is also usually favorable when there is visible swelling. Avoid laying on a heat source as this can trap the heat and damage the skin, such as by possibly causing a blister or permanent darkening of the skin.
Some people may experience more pain relief with cold therapy, but others may prefer heat therapy. Try different combinations of cold and heat to see what works best for you.


